

Simple Mod To Protect Your Cargo Plastics From Damage
Hauling camping gear is an essential component of overlanding. And so is hauling stuff around while daily driving. With that comes added wear and tear to your cargo area. To help protect this area and keep it looking new, Canvasback offer a comprehensive package that covers every square inch.
In this post, we’ll be covering the Cargo Side Pieces. In my last post, I covered the Cargo Liner & Bumper Flap.
Find It Online
- Cargo Side Piece Covers
- 2-Door: Check Price
- 4-Door: Check Price
Table Of Contents
About Canvasback

Canvasback is known for its custom-fit interior covers for various vehicle makes and models. Made in the USA with 600×300 poly denier (600×600 for print patterns) and waterproof PVC backing, this light yet tough material will protect your interior from whatever life throws at it, whether that’s mud from the trails of kicking toddlers.
They offer a wide range of fabric options, including solid colors, camo patterns, and plaid. The fabrics are precisely cut for each vehicle, ensuring factory-like fitment. In this article, we’ll look at the Cargo Side Pieces for the 4-door Bronco, but they also have you covered (pun intended) for 2-door models.
Installation

Installing the cargo side covers requires no tools and only minutes of your time.
Step 1. Clean Cargo Area

Step one is to empty your cargo area and clean it. You’ll want to make sure the Velcro portion have a clean area to mount to.
The flat cargo area is pictured here, but the same steps apply to the side walls.
Step 2. Test Fit

Before removing the adhesive strips’ backing, make sure that everything lines up. These liners have cutouts for the speaker and the cargo light/12v power supply on the passenger side and for the cargo pocket on the driver side. It is best to test fit these before trying to apply the adhesive.
Step 3. Apply Adhesive Strips
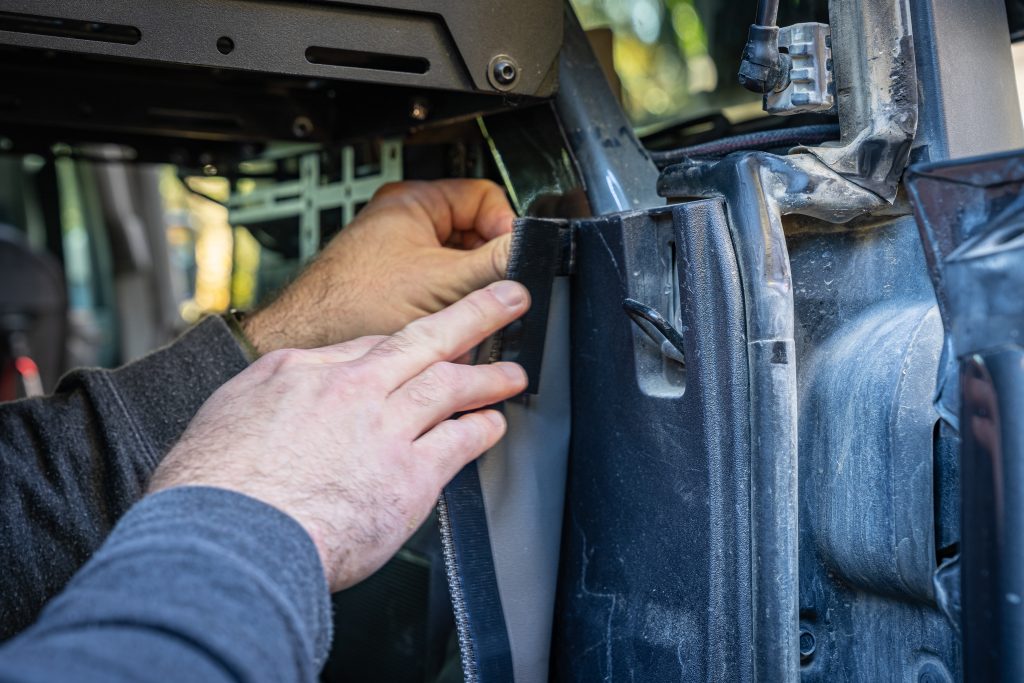
Peel the backing off the adhesive strips and carefully apply them to the side panels. I started with the front of the liner and worked my way back to the tailgate, ensuring the liner was perfectly aligned with the top of the panel back.
Once you get to the tailgate area, you will see multiple adhesive strips whose backing needs to be removed so you can apply them to the panel. Make sure that as you apply this portion, nothing hanging over the panel might interfere with the function of the tailgate.
Step 4. Check Fitment

With the liner in place, go back through and check the fitment all the way around. I checked to make sure that I still had access to the 12v power, that the light wasn’t blocked at all, and that I still had access to the cargo pocket.
Install is complete!
Final Thoughts

The cargo side covers are an excellent addition to protect your cargo area against common scraps from gear bouncing around on the trails. My only regret is that I hadn’t installed them before hauling a bunch of home improvement materials.
A very simple install. Great fit and finish! To get rid of any creases, you can toss them in the dryer on a cool cycle, but they’ll naturally work themselves out over time.
Canvasback has a great ecosystem of protection panels that integrate perfectly. These cargo side covers are one of four parts. So, stay tuned for my reviews on the front seatback covers and door covers!
